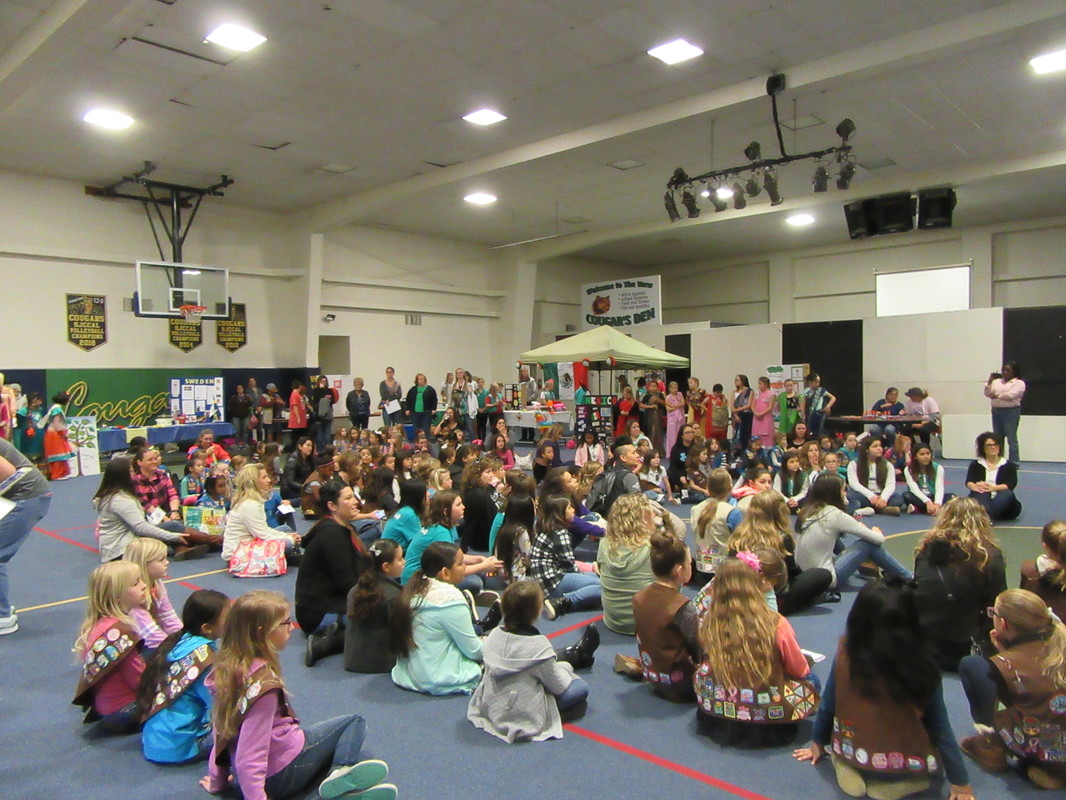
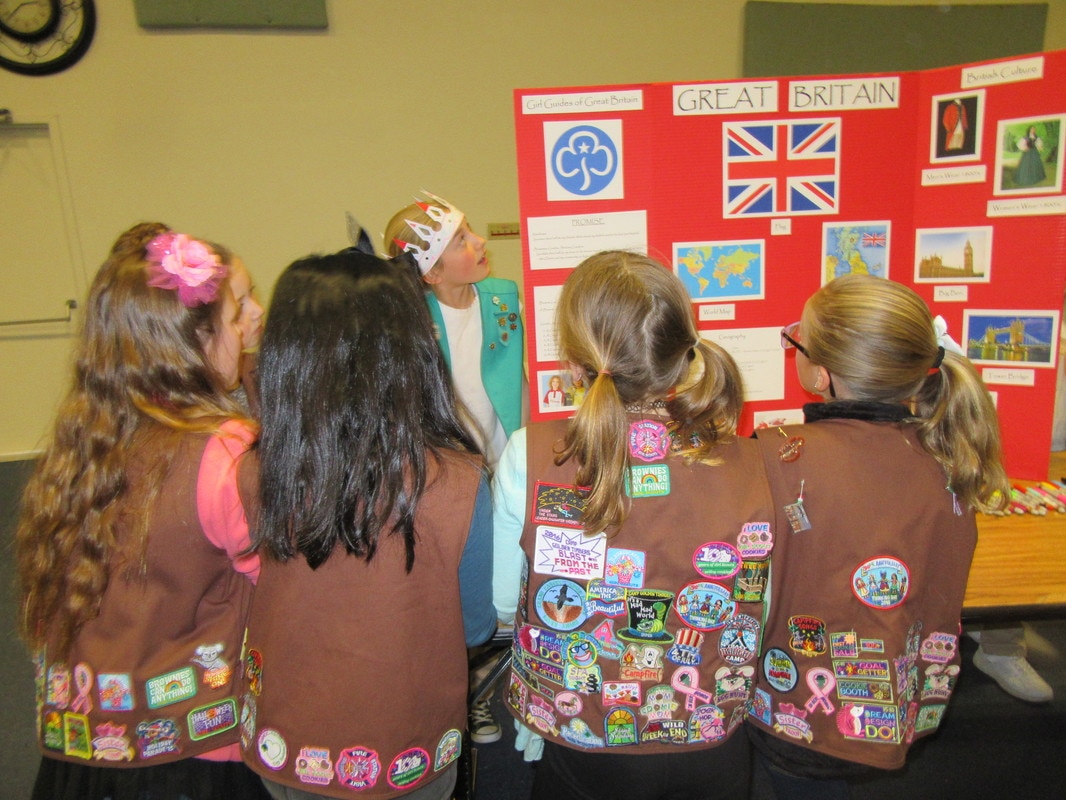
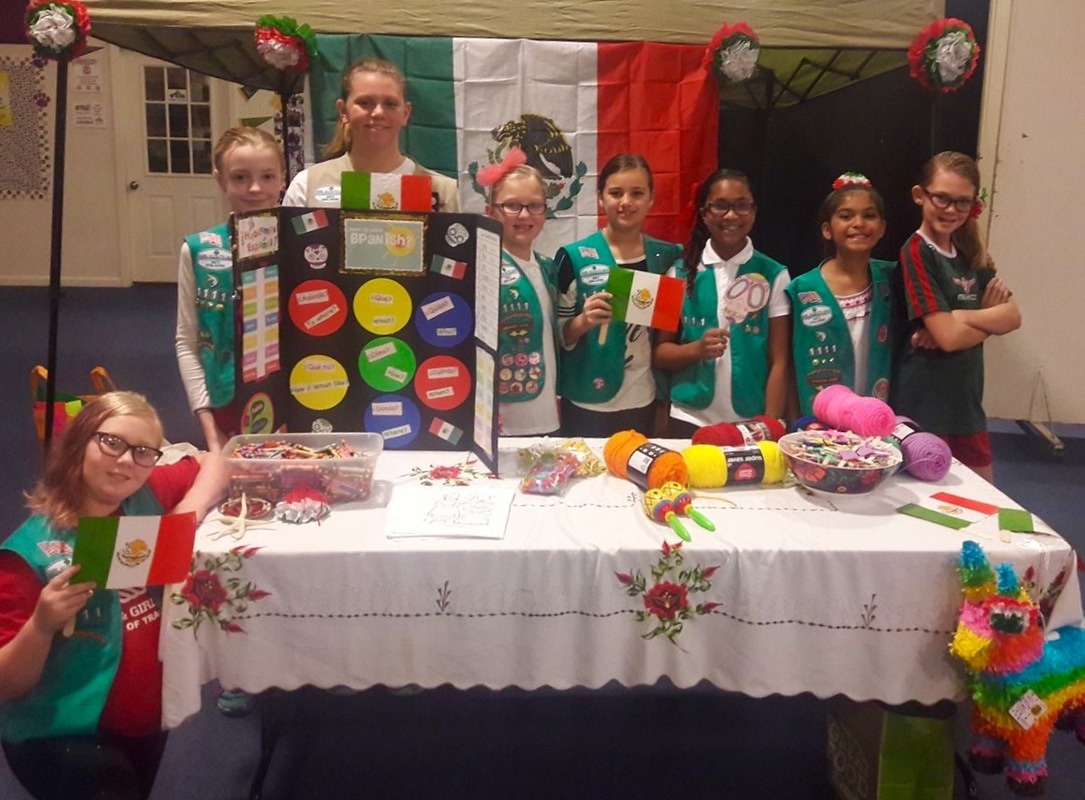
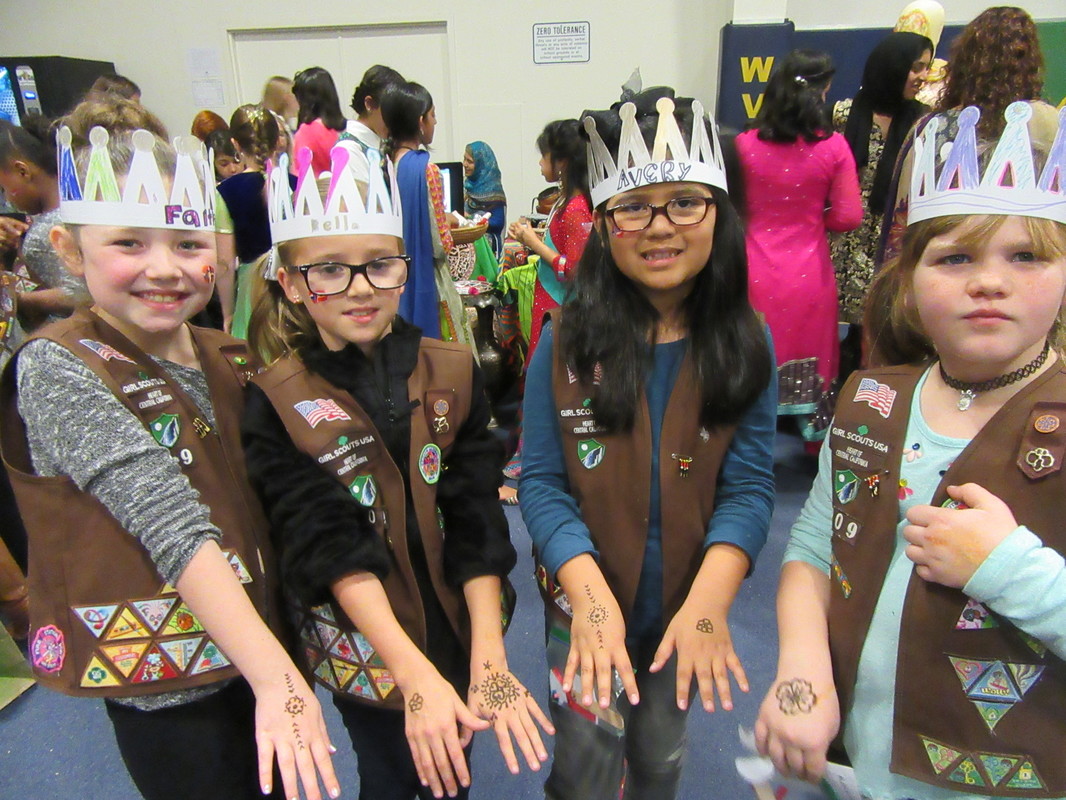
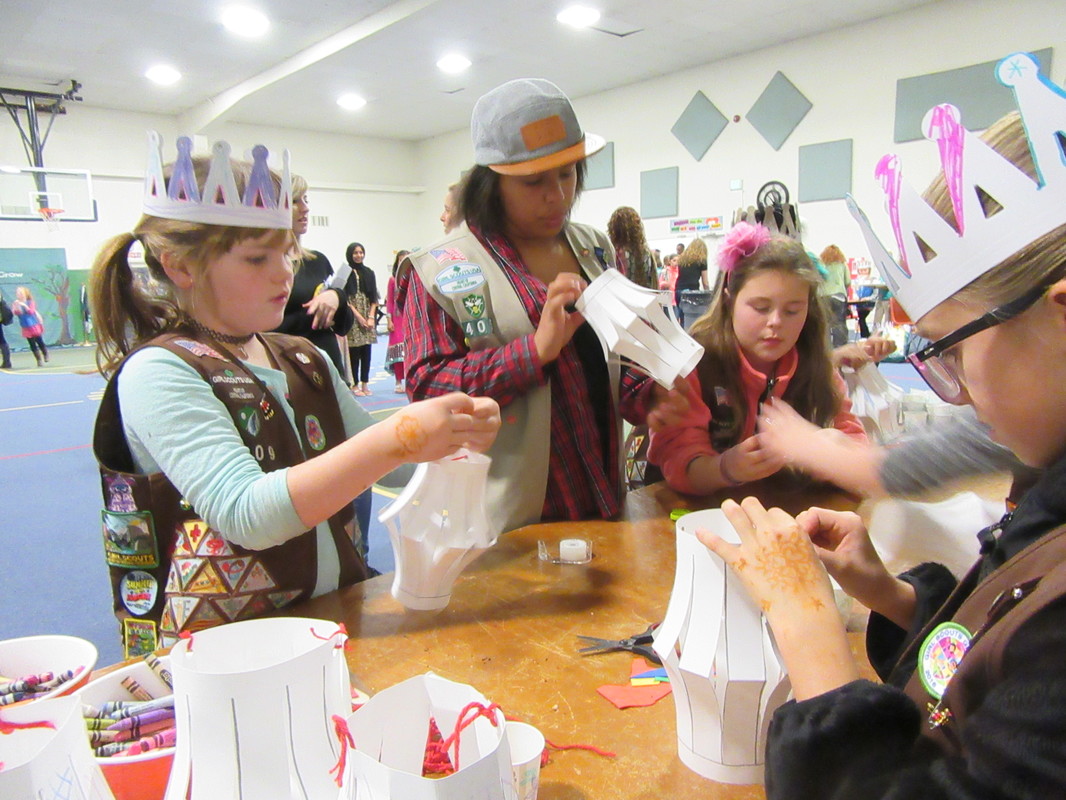
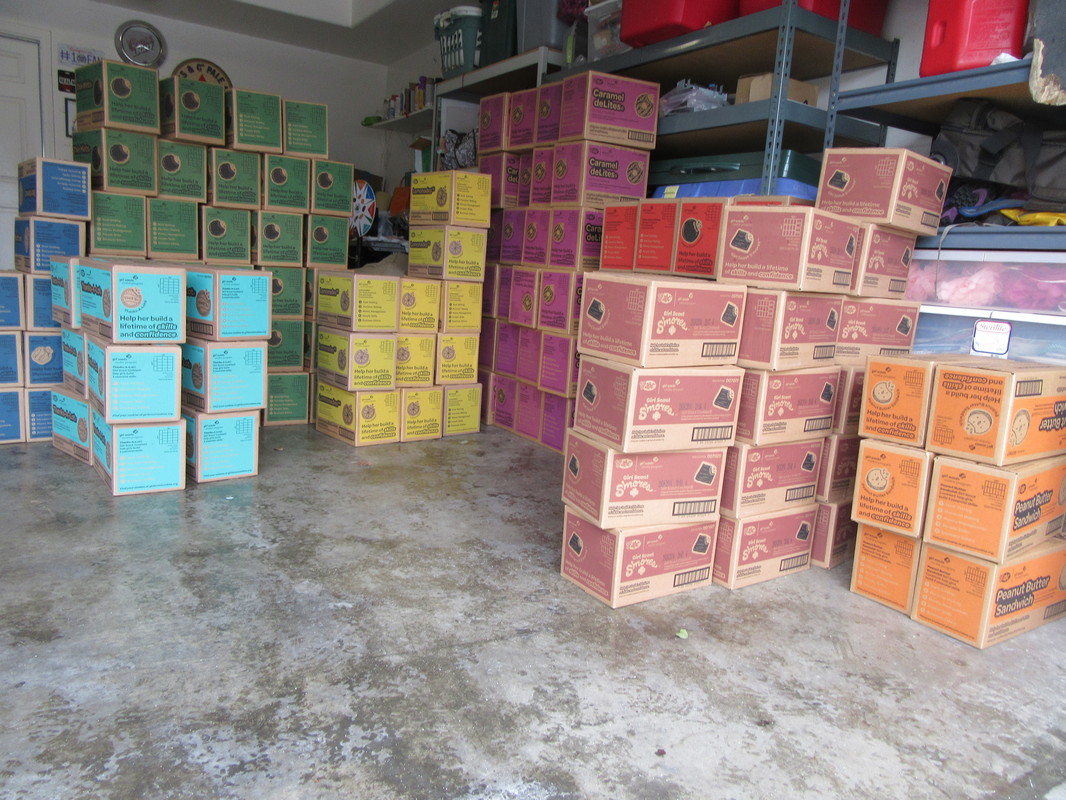
Our Service Unit does a GREAT job on promoting and putting on this event. We had 12 Troops hosting and over 100 Brownies/Daisies attending (visiting the countries).
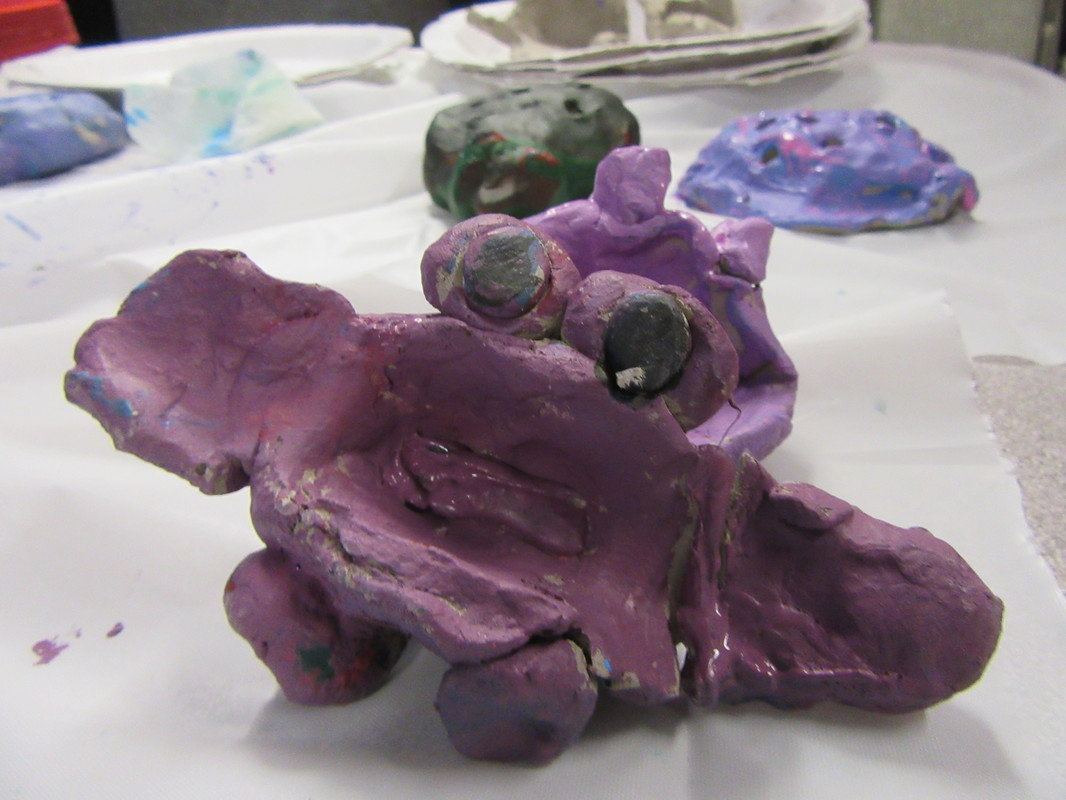
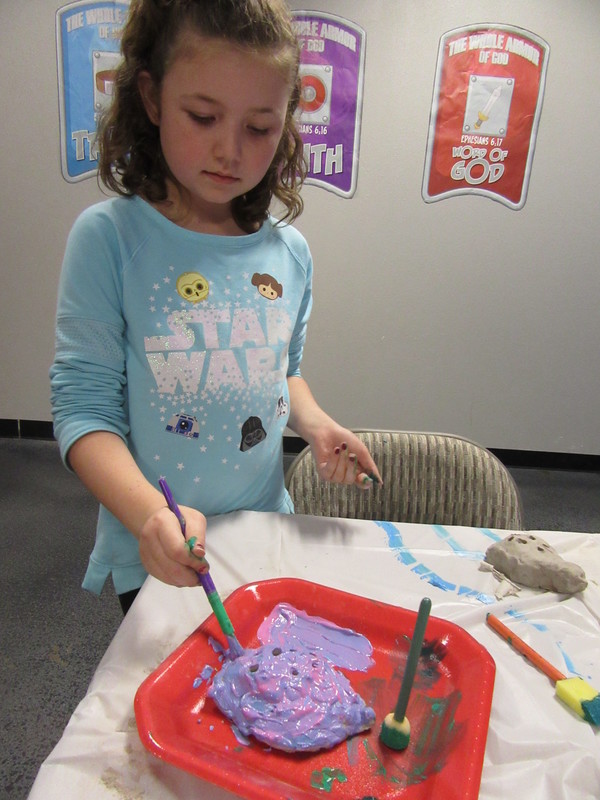
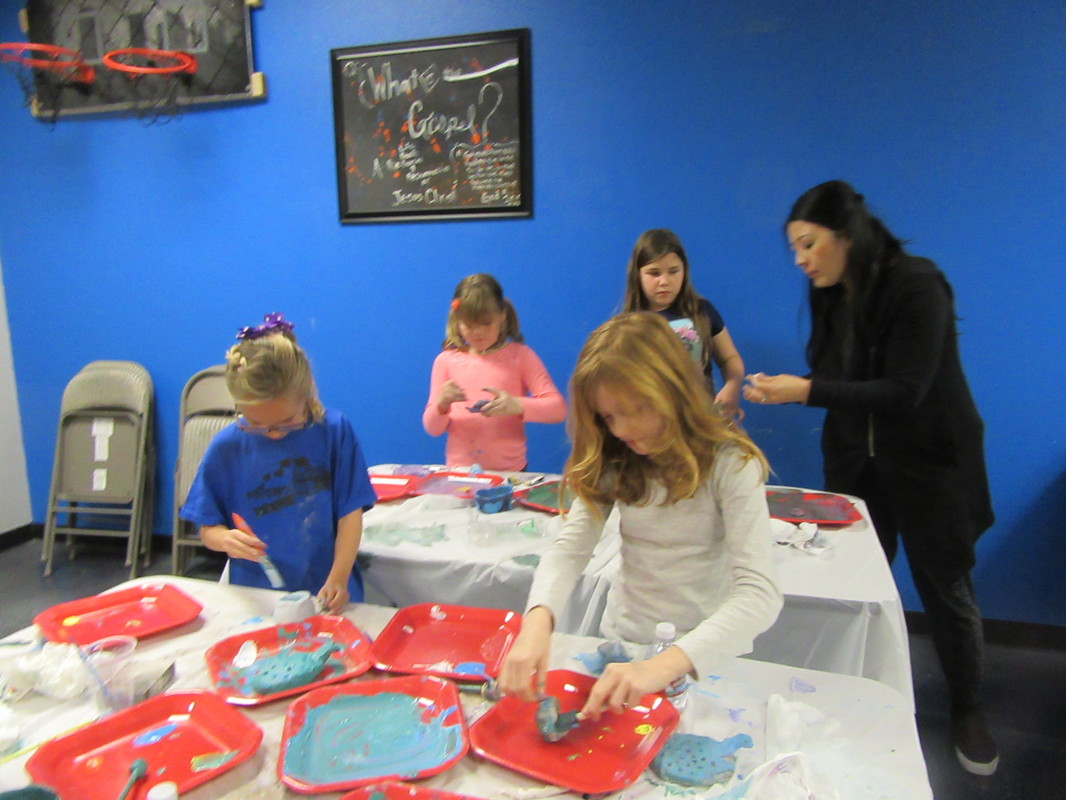
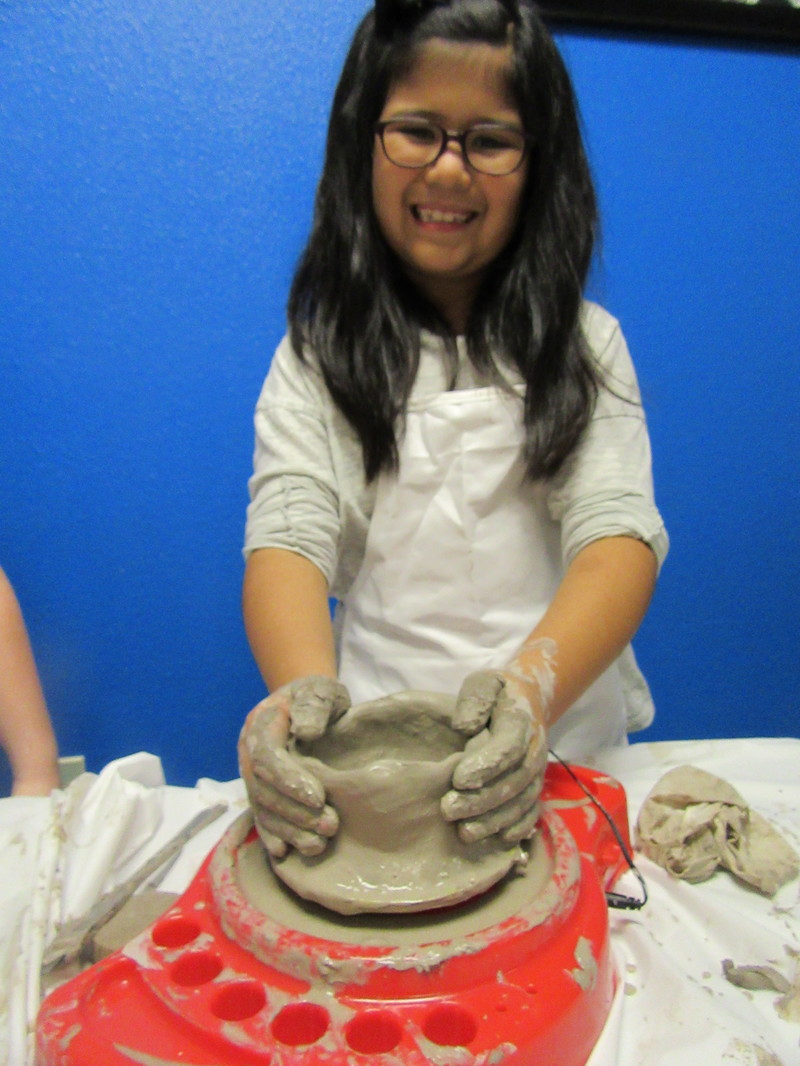
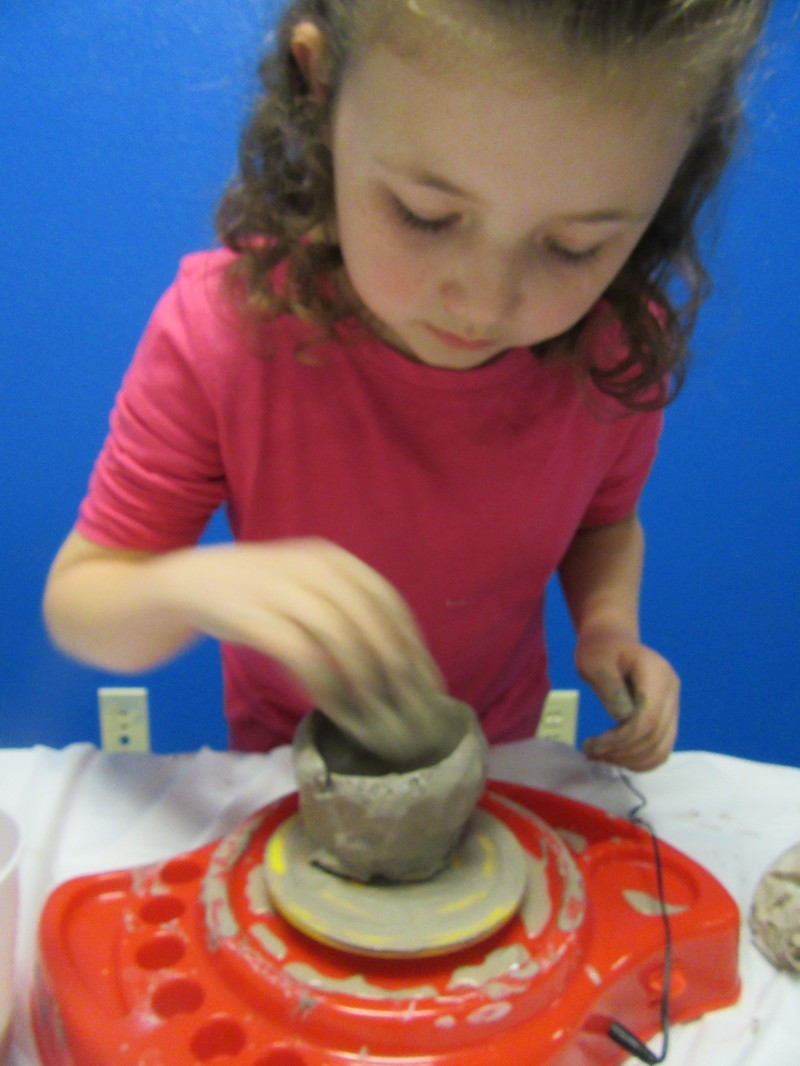
Tonight we wrapped up the potter badge. The pottery needed the entire two to fully dry (I had to bring it inside the house in front of a portable heater). I found it helpful to have the girls use sand paper to sand off the uneven edges prior to painting.  The most challenging part of this was getting the girls to allow time for the colors to dry before applying another color. Some just ended up mixing all the colors together. In the end they had a lot of fun and really enjoyed this badge.
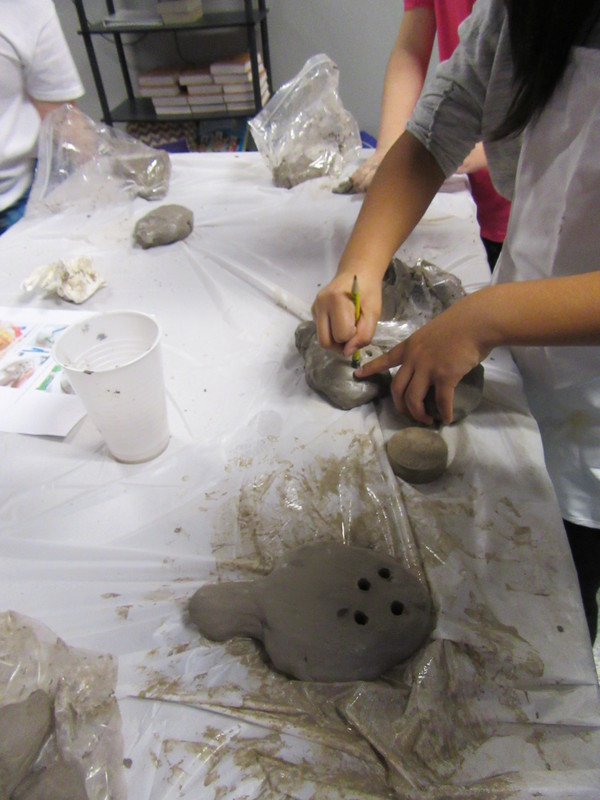
This was a really fun badge to work on. Often I am able to complete an entire Skill Builder badges with the girls in one meeting; however, this time I decided we would need two meetings. At the first meeting we worked with raw clay. I bought 20lb box of air dry clay from Amazon.com (free shipping). Michael's craft store does have this clay but I found a better price online. I had the pottery wheel already on hand. We had 2 stations since only one girl could throw a pot at a time. Each girl also created a pencil holder the idea was to create a hedgehog (most ended up creating a turtle...haha!!). I love the idea of them making something they can actually use. All three projects (and clean up) took our entire meeting time (1.5hrs). This meeting was a lot of fun the girls really enjoyed creating.  Each girl also made a monster (since we had extra clay) after all the clay is dry we will paint it at the next meeting.
Potter Badge Steps: Step #1 Find some Pottery Step #2 Get to Know Clay Step #3 Make a simple Pot Step #4 Make a Piece of Art Step #5 Paint and Glaze |
Troop 209Welcome to our blog. I thought I would start a blog to help stay organized. I also love reading other girl scout leaders blog and I thought I could share what works for our troop, hope its helpful! Categories |
 RSS Feed
